



Mike Attree shares his tips for maintaining this vital but easily clogged part of your engine’s cooling system
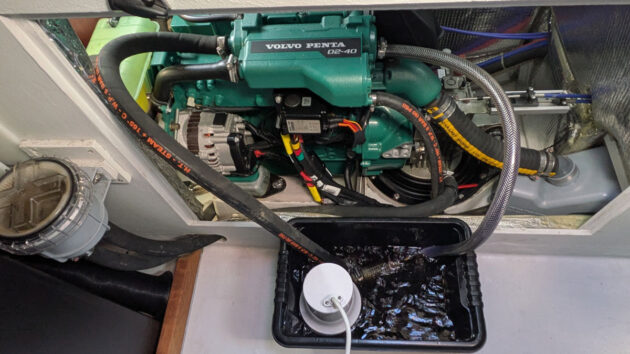
When you check that water’s coming out of your boat’s exhaust and there’s only a trickle, it’s probably because the engine seacock is closed, the raw water strainer is full of weed or something is blocking the water inlet. It’s easy to spot something’s awry when the flow of water suddenly stops, but if it gradually decreases over time you probably won’t notice that anything‘s wrong until steam starts coming from the exhaust, or the engine overheat alarm sounds.
Fortunately, maintenance can stop this happening, and looking after your boat’s cooling system not only helps cooling efficiency, but could prevent your annual cruise from being spoilt by an overheating engine.
Cooling systems degrade over time, and the main culprits for this are the raw water pump, the exhaust elbow, and the engine’s heat exchanger. For the pump, it’s important to use good quality impellers, and it’s a good idea to change them every year; you end up with a box of part-worn impellers, but for peace of mind it’s well worth doing.
Pump seals and bearings start to fail after a few hundred engine hours, but at least water pumps aren’t too expensive to refurbish when their component parts wear out. Fortunately they tend to fail gracefully, so it’s often possible to carry on (albeit with the pump dripping into the bilge) until it’s convenient to repair the pump.
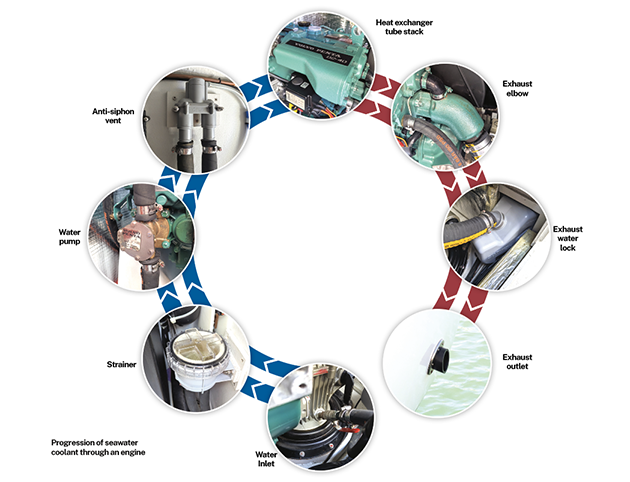
Progression of seawater coolant through an engine
Exhaust elbows build up carbon deposits that restrict water flow, and they are prone to corrosion. To avoid any ‘surprise failures’, it’s best to remove the elbow every year for inspection, and most years you can get away with brushing out the carbon. However, it won’t be long before a heavily corroded elbow fails, and if you’re not sure whether an elbow’s going to last until the next inspection it makes sense to replace it; otherwise it’s bound to fail at the worst possible time.
Salt deposits gradually block up heat exchanger tube stacks, reducing water flow and cooling efficiency, and if a tube stack hasn’t been cleaned for a while, some of its tubes could be completely blocked; in this case it’s best to remove it from the heat exchanger for cleaning. Take care when rodding out the stack’s tubes, as these have thin walls and are easily damaged.
Once the tubes are clear, you can immerse the whole stack in descaling fluid to give it a thorough clean. On the other hand, if a heat exchanger’s been cleaned regularly, you can clean its tube stack in situ. This is a lot quicker and easier than having to remove the stack for cleaning, and it doesn’t disturb engine seals and bolts etc. as much.
Heat exchanger flushing
Here’s how I cleaned our engine’s tube stack in situ:
Gather together a circulation pump, a reservoir tank, a length of hose and some descaling fluid. I used the boat’s bilge pump for the circulation pump, a plastic box served as the reservoir tank, and the hose came from our boat spares.
Various chemicals advertised online claim to descale tube stacks, but I’ve read that strong acids can attack a stack’s soldered joints (and even the tubes themselves), whereas Rydlyme is claimed to be safe. Rydlyme is purpose-made for the job and is advertised as being ‘environmentally friendly’, so I used Rydlyme.
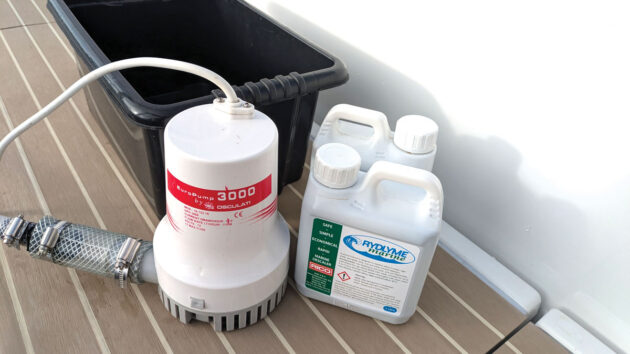
Rydlyme is environmentally friendly and easy to use to descale the heat exchanger tube stacks. Credit: Mike Attree
Some people advise reverse-flushing heat exchangers, whereas others say that it doesn’t matter which way you circulate the fluid. To add to the confusion, Rydlyme’s own instruction leaflet describes forward-flushing in the text, but the accompanying diagram shows reverse-flushing! I chose to reverse-flush because any loose crud trapped in the flow-side heat of the heat exchanger would be washed away from the exchanger’s tubes, rather than into them.
To connect the circulating pump to the outlet of the engine’s heat exchanger (on a Volvo D2-40 at least), you have to remove the small 90° hose that connects the heat exchanger to the exhaust elbow. Unfortunately, it’s impossible to remove this hose without either cutting it off or unbolting the exhaust elbow as it fits between two spigots that almost touch each other – a truly annoying design.
However, you might as well remove the elbow, as otherwise you won’t be able to get the small hose back on again; and at least you’ll be able to check the elbow for carbon build-up and corrosion while it’s off the engine. Incidentally, Volvo charge £40 for this tiny hose, and it’s worth knowing that a standard 90° car radiator hose can be used instead. These come with longer legs than Volvo’s hose, but are easy to cut down to the right size, and are much cheaper than the ‘official’ hose.
Disconnect the anti-syphon end of the heat exchanger’s inlet hose and lead it into the reservoir tank; half-fill the tank with water, and run the pump to check for leaks. If all is well, discard the water and mix up the descaling solution in the tank.
I used 2lt of Rydlyme plus 2lt of water, and this was sufficient to fill the circulation path and keep the pump immersed in fluid. Circulate the descaling fluid for a couple of hours (longer with heavy scaling), then discard the solution and flush the system through with fresh water.
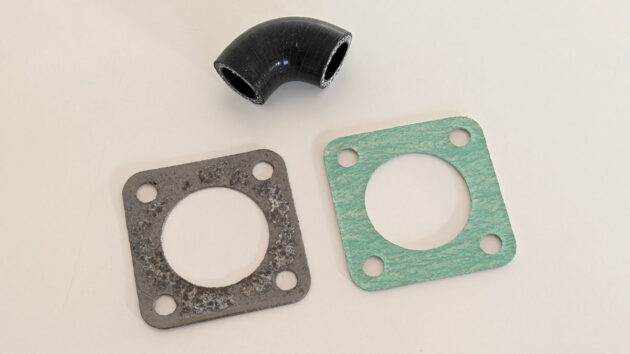
The old and new exhaust elbow gaskets and hose. Credit: Mike Attree
Reverse flushing the heat exchanger swept quite a bit of loose crud into the reservoir tank, but descaling is done by chemical action. Rydlyme’s documentation gives plenty of information about how much to use, dilution strength and suchlike, and since the product is ‘non-hazardous, non-corrosive, and environmentally friendly’, it’s easy to dispose of. Finally, re-fit the exhaust elbow and cooling hoses, open the seacock and run the engine to check for leaks. Water should now be gushing out of the exhaust outlet with great enthusiasm.
When I removed the elbow, I noticed there was some corrosion ‘pitting’ on both the heat exchanger’s exhaust flange and the exhaust elbow gasket. I’ve read that the gasket is responsible for this corrosion because it is metallic, and I’ve seen pictures of heat exchangers that needed extensive repairs because of this problem; some were so badly damaged they had to be replaced at a cost of more than £3,000.
Clearly this is a well-known problem, as non-metallic gaskets are available that are said to ‘reduce the possibility of the galvanic corrosion associated with the original steel gasket’. I fitted one of these in the hope that it’ll prevent any further corrosion, but we shall see. If it does fix the problem, a £2.50 gasket is an awful lot cheaper than a new heat exchanger.
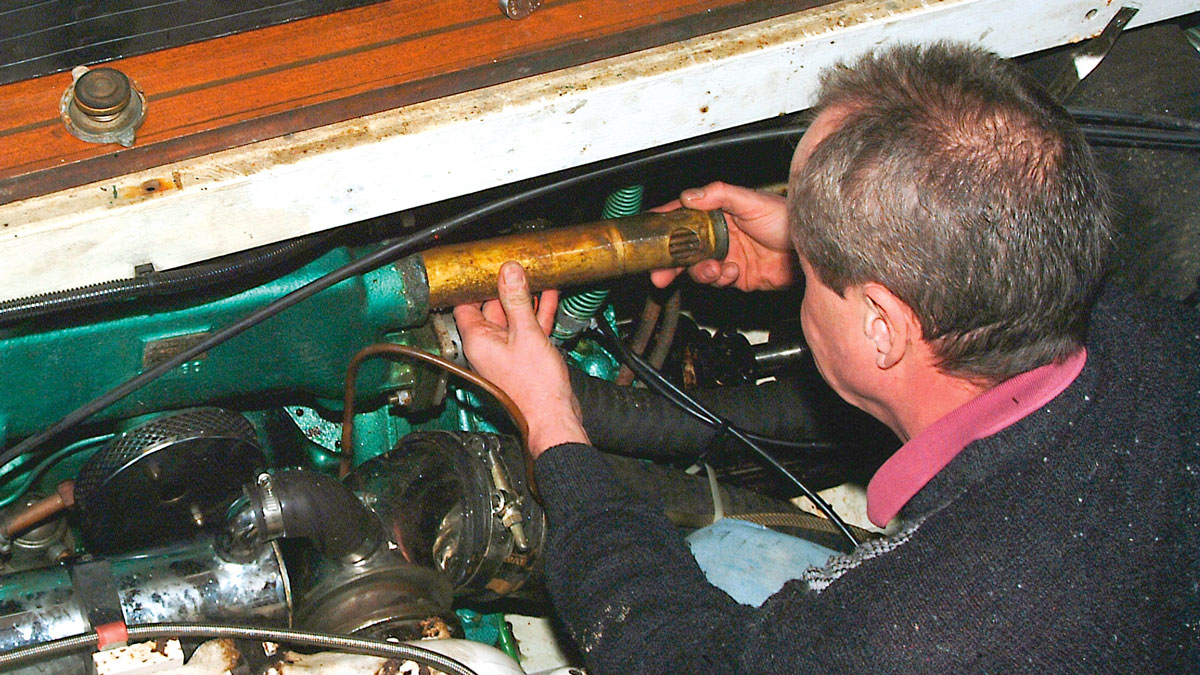
How to service a marine engine cooling system
Is your boat's engine beginning to run hotter than normal? It may be time to service the cooling system, suggests…

Fixing boat engine cooling system problems
Stu Davies solves niggly Volvo Penta 2030 engine cooling problems
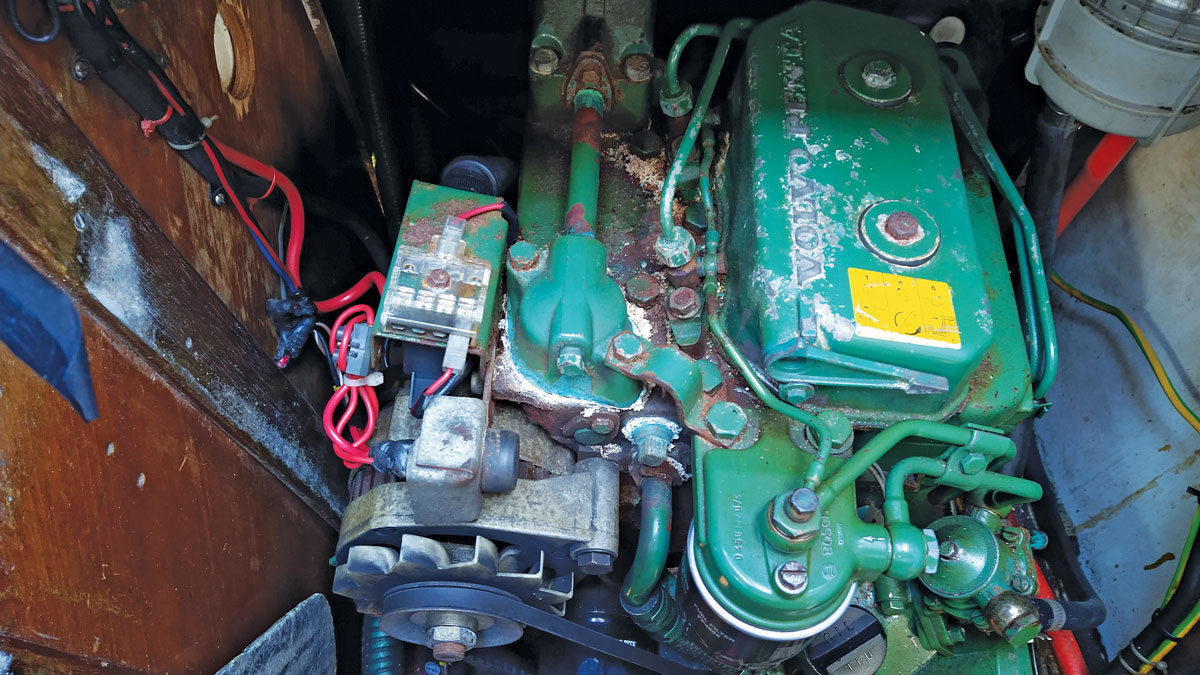
How to fix a leak in the marine engine cooling system
Stu Davies advises PBO reader Richard Jales how to solve a leak in his boat's marine engine cooling system

DIY engine cooling water alarm
DIY engine cooling water alarm
Want to read more practical articles like Heat exchanger flushing?

A subscription to Practical Boat Owner magazine costs around 40% less than the cover price.
Print and digital editions are available through Magazines Direct – where you can also find the latest deals.
PBO is packed with information to help you get the most from boat ownership – whether sail or power.
-
-
-
- Take your DIY skills to the next level with trusted advice on boat maintenance and repairs
- Impartial, in-depth gear reviews
- Practical cruising tips for making the most of your time afloat
-
-
Follow us on Facebook, Instagram, TikTok and Twitter
PBO web categories