



How to apply two-pack epoxy primer paint to stabilise and strengthen tired old gelcoat ready for the undercoats and topcoats that will follow
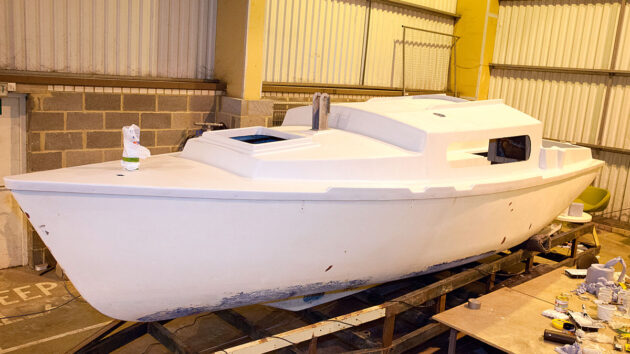
If you have soft and UV-damaged gelcoat on your boat, you should seal it with an epoxy primer to stabilise it before starting to paint on the undercoat and topcoat of whichever paint you decide to use.
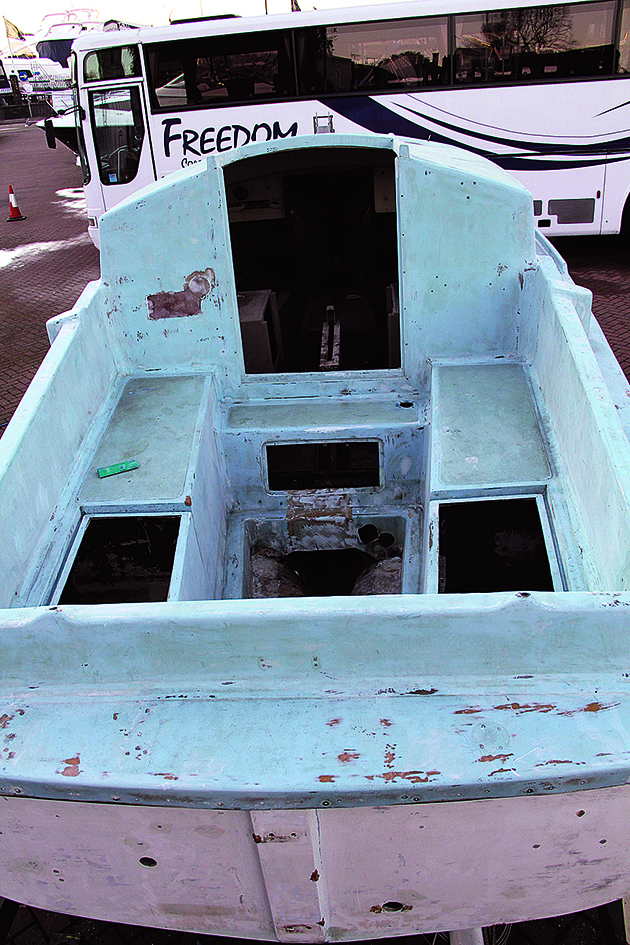
The boat before it was painted
Here’s how we applied two coats of epoxy primer – International’s Interprotect – to the deck:
1. Dusting off
After vacuuming up all the dust on deck, we used wipe-down solvent to remove any remaining dust from the surface. You need two cloths to do this – a wet one and a dry one. Use the wet one to apply the solvent to a small area (without letting it dry out) before wiping off remaining dust and solvent with the second cloth. Renew cloths regularly so you don’t end up spreading contaminants around. We used blue industrial cleaning roll from Screwfix, which will last us for a while.
2. Masking up
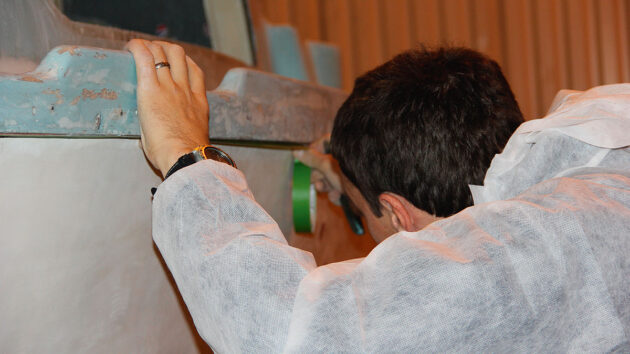
Apply masking tape along the hull-deck joint packing
We masked up the boat using a good quality masking tape. We taped along the hull-deck joint packing, then ran along the edge of the moulding with a Stanley knife to trim the tape to size. This masking will protect the wooden packing until we seal and paint it later.
3. Mixing epoxy primer
Interprotect comes in two colours, white and grey. We ordered batches of each colour so that we could alternate them and therefore see where we had already painted. We applied the white first. It’s a two-pack paint, so you need to mix the hardener with the base.
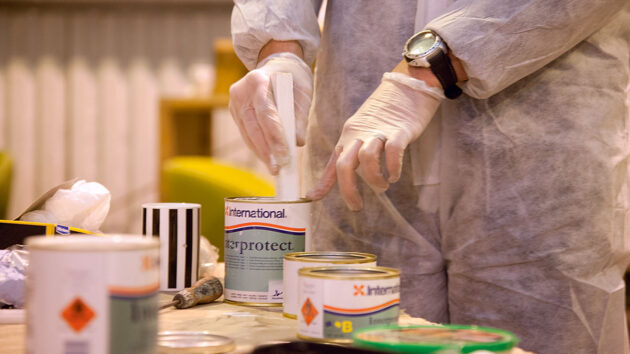
It’s a two-pack paint, so you need to mix the hardener with the base
There’s enough room in the top of the base tin to allow you to add all the hardener and mix in the tin, using a wide stirrer in both circular and up-and-down movements to ensure all the sediment and paint are mixed. Make sure to stir it for a good few minutes, until the two components are thoroughly mixed.
4. Applying the paint
The important thing with epoxy primer is to apply it in sufficient thickness to properly seal the surface – and so that when you later flat it back, there is enough paint left on the job. I initially applied it with a roller but we found that a brush was better to get more paint on the surface.
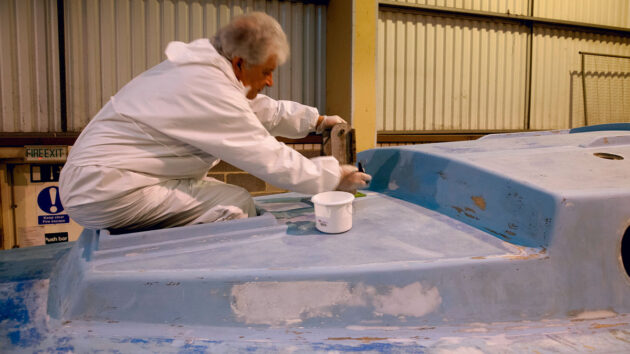
The first coat of epoxy primer being applied
The epoxy paint also dissolved the foam rollers, so these needed replacing after about 20 minutes. Three of us worked on the boat, covering the cockpit, coachroof and foredeck and sidedecks. That way we could avoid as many hard edges as possible – and also plan our way off the boat.
- Cockpit: To avoid painting yourself into a corner, start with the front of the cockpit before painting the rest of the lower sides.Then clamber onto the cockpit seats to paint the floor, before escaping the cockpit entirely to paint the seats and coamings from a stepladder.
- Foredeck: Start by sitting in the forehatch and painting the deck around you, save for the forward edge. Then back out of the hatch and along the deck, before taking to the stepladder to paint the narrow sidedecks.
- Coachroof: Start by sitting on the coachroof and painting the centre sections, before exiting over one side onto a ladder and working on the rest of the boat from there.
To avoid runs and deep brush marks, we worked in squares of about a foot, applying the paint and brushing diagonally, vertically and finally horizontally. The wet edge can be left for a maximum of five minutes before it begins to harden, so it is important to stop painting at a natural ‘edge’ – either the edge of a cockpit seat or the coaming – so that the join between patches of paint would be less obvious.
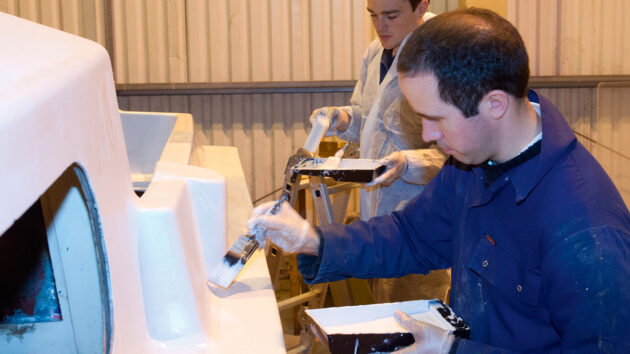
To avoid deep brush marks, work in small areas before moving on
With this coat, of course, it wasn’t too important as it will be sanded back again – but this will be very important later on. The job took three of us an hour-and-a-half, and we used three 750ml tins of Interprotect.
5. Filling between primer coats
In the course of our painting we noticed some imperfections and dings that we must have missed in our earlier filling sessions; it is best to fill and fair between coats
of Interprotect. So next day, once the first primer coat had cured (which it did successfully despite cold weather) we used a two-pack epoxy filler to fill in any imperfections. This was sanded back the next day.
6. The second coat: using grey primer
With everything smooth once again, we could apply the next coat of primer. This time we used the grey colour so it was easy to see where we had already painted over the white.
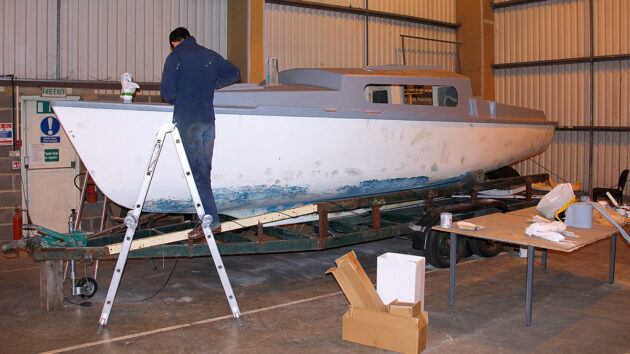
The grey second primer coat made it easy to see where we’d already painted
Application was just as before. We laid it on especially thick over the old non-slip surfaces on the coachroof as these were badly damaged, with chunks missing and some areas smooth. The aim is to paint these with non-slip paint later, so the best surface we can get at this stage is important.
This time there were only two of us, and it took us two-and-a-half hours. We used another three tins of Interprotect.
7. Flat back, ready for the next step
Left a few days to fully harden, the primer was ready to flat back in preparation for the next coat of paint. The aim is to remove any brush marks or imperfections while keeping the surface protected. We used 120- grit paper to remove any ridges in the surface before smoothing off with 240-grit paper. On the large, flat surfaces like the cabin sides and the cockpit, we used a random-orbit sander to speed up the process and smooth it off properly. While we were sanding, we did a final round of filling and fairing on the hull so that it is also now ready for its first coat of undercoat – see next month.
Making progress
With the first coats of primer applied the yacht looks much better than it did, but most importantly the gelcoat is now protected and the surfaces are smooth, blemish-free and ready for the next step – the undercoat on both hull and deck.
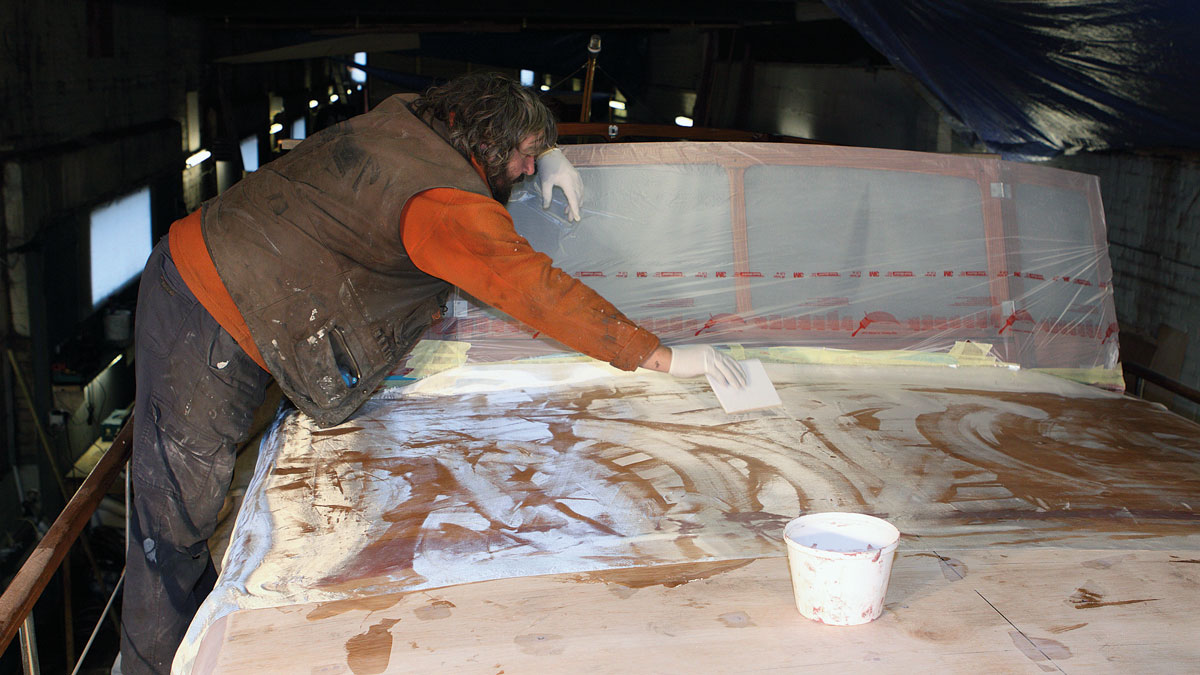
Epoxy sheathing: a guide for boat owners
Epoxy sheathing offers a long-lasting alternative to canvas for covering a traditional plywood coachroof or deck, as Richard Johnstone-Bryden explains

Can you epoxy repair an aluminium boat heat exchanger?
PBO reader Chris Marden wants to know if he can repair the outer case of his boat heat exchanger with…

How to make a customised plywood-epoxy box – no screws or nails
On any boat, particularly smaller craft, the stowage of more delicate objects is always a challenge and for expensive items…

Epoxy infusion video: learn how to build a canoe with PBO and West System International
The traditional method of glassfibre boat building has been to hand-roll liquid resin into reinforcing fibre as it sits in…
Want to read more practical articles like Epoxy primer: how to apply this two-pack paint?

A subscription to Practical Boat Owner magazine costs around 40% less than the cover price.
Print and digital editions are available through Magazines Direct – where you can also find the latest deals.
PBO is packed with information to help you get the most from boat ownership – whether sail or power.
-
-
-
- Take your DIY skills to the next level with trusted advice on boat maintenance and repairs
- Impartial, in-depth gear reviews
- Practical cruising tips for making the most of your time afloat
-
-
Follow us on Facebook, Instagram, TikTok and Twitter
PBO web categories