




Tony Davies shows gives detailed guide on how to fill a grease gun
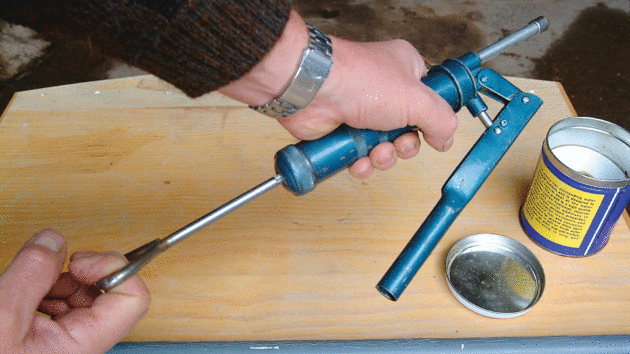
The seemingly simple job of filling a grease gun or remote stern gland greaser causes incredible difficulties for many boat owners.
When performed correctly it’s a clean and uncomplicated procedure, but done the wrong way it’s easy to get into a terrible mess trying to stuff handfuls of grease into the end of the gun and then poking it down to remove the trapped air.
So, how’s it done?
Refilling a grease gun, step by step
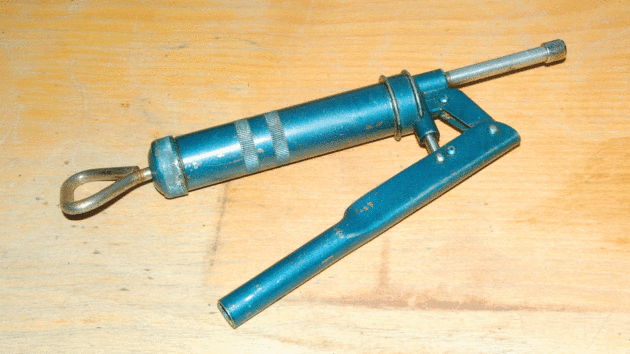
A typical small grease gun ideal for use on a boat.
The grease is pressurised by a strong spring inside the pump body.
Pumping the handle forces grease into the nozzle with enough pressure to overcome the resistance of the tiny valve inside a grease nipple.
To fill the gun, the plunger is first pulled out to the locked position.
The locking method varies between makes of grease gun so check how it’s done before starting, but usually you pull the plunger fully out and turn it 90° so it locks in the slot on the body end cap.
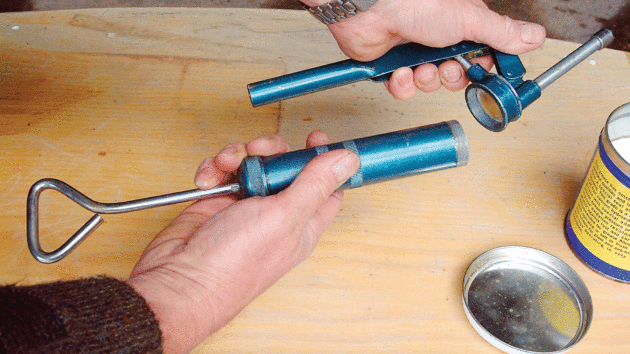
With the plunger locked, the nozzle and handle end can now be unscrewed.
The plunger is then carefully and slowly released so any grease left within the body is pushed out by the force of the spring.
This can be put back into the tin of grease to use again.
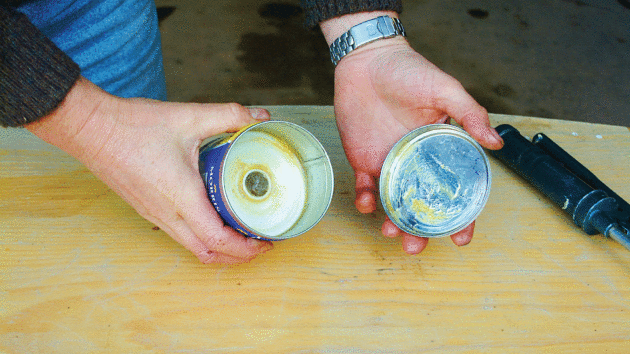
Small tins of grease have a disc inside with a hole in the centre.
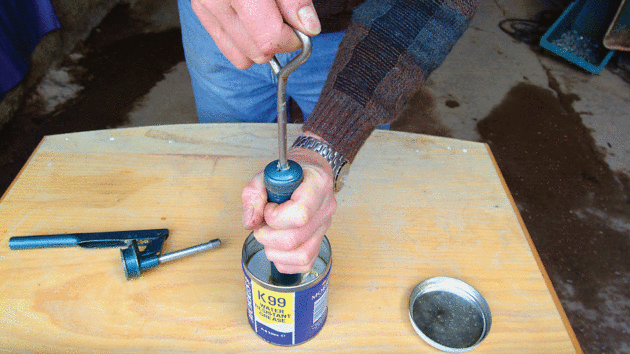
The grease gun body is placed onto the disc and pushed down while at the same time pulling up on the plunger of the gun.
This combined effort forms a partial vacuum and forces grease up into the gun’s body.
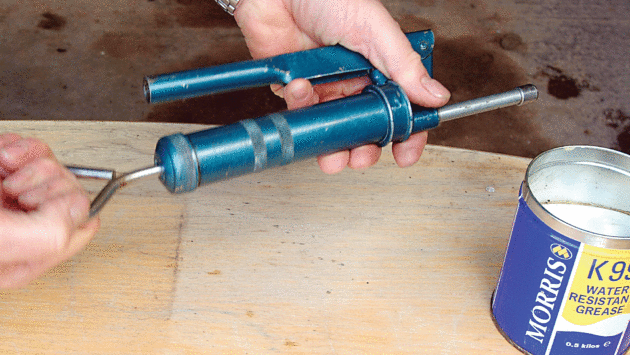
With the gun full of grease, the plunger will now be fully out so lock it again into the open position.
Replace the nozzle/handle end before once again releasing the plunger.
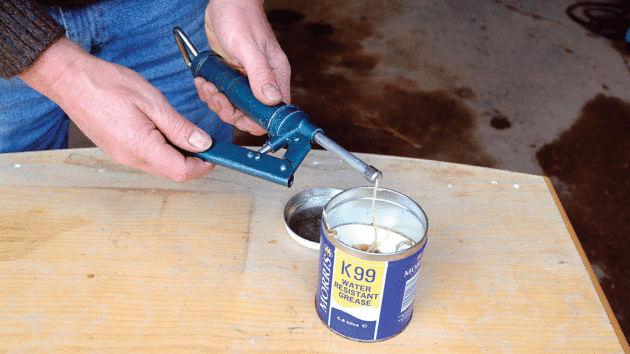
If there’s an air bleed nipple, this can be opened to free trapped air.
If there’s no air bleed, pump the handle a few times to remove air and allow grease to start flowing ready for use.
Remote stern greasers are filled by removing the top cap and unscrewing the body from the base.
The body is then simply pushed down on the disc in the tin until it is totally filled with grease.
When full, the body is refitted to the base, the pressurising screw in the top cap is unscrewed and the cap refitted ready for use.
All done!
Want to read more articles like this?

A subscription to Practical Boat Owner magazine costs around 40% less than the cover price.
Print and digital editions are available through Magazines Direct – where you can also find the latest deals.
PBO is packed with information to help you get the most from boat ownership – whether sail or power.
-
-
-
- Take your DIY skills to the next level with trusted advice on boat maintenance and repairs
- Impartial, in-depth gear reviews
- Practical cruising tips for making the most of your time afloat
-
-
Follow us on Facebook, Instagram, TikTok and Twitter
PBO web categories