



Colin Clayton explains how he experimented with dinghy junk rigs and made his own DIY sails
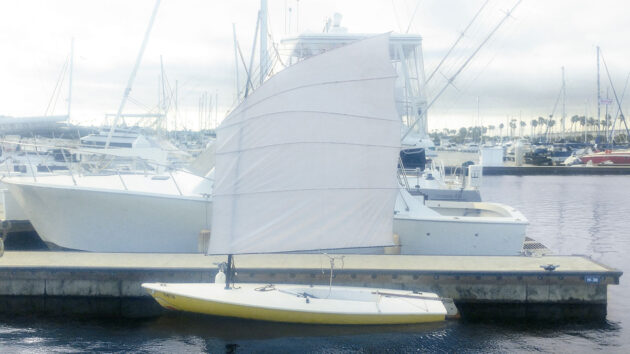
Cabrillo Beach, alternatively known as Hurricane Gulch, at San Pedro, California, is where I learned to sail on a yellow Laser named Thetis and where I experimented with DIY sails.
The Laser was given to me by my marina neighbour, Frank Rose, a retired Navy Seabee who has sailed his whole life. He would often recall stories about the Sunfish his unit had access to on the beaches of Vietnam and the boats he had throughout his life. By no small measure, Frank had a large impact on my life, and I owe him much gratitude.
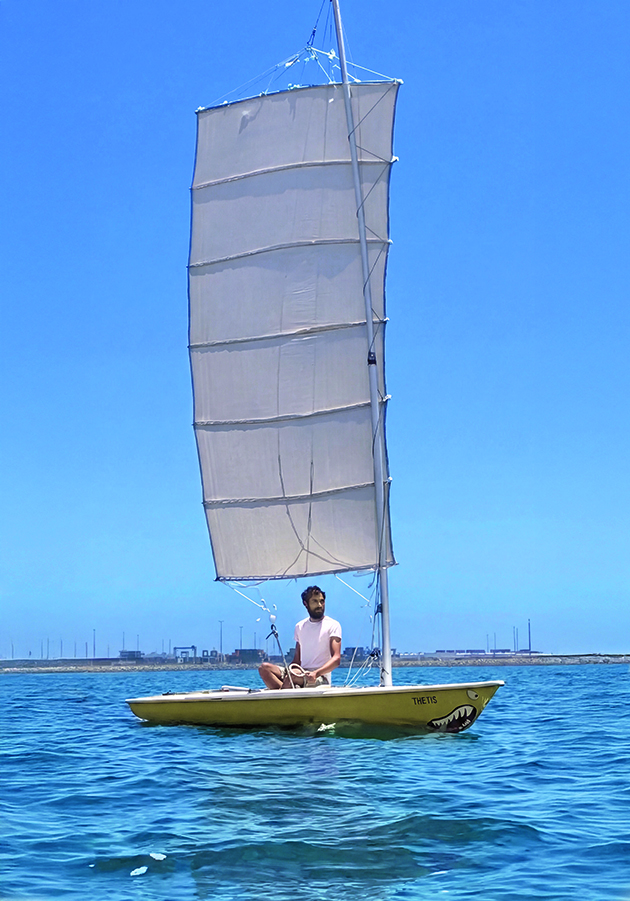
With the original Laser mast, Colin found reaching and sailing downwind were slower. Credit: Colin Clayton. Editor’s note: It is always best to wear a lifejacket when on the water
The Laser had everything to go sailing, the daggerboard, rudder, sail, boom, but not the mast! I could not find a pole long enough to fit the original Laser sail at the time. So instead of buying the original mast, I decided to make my own mast and sail.
I did not want to spend much money, so I used the cheapest material I could find – a painter’s drop canvas (known as a drop cloth) – as sailcloth. I have previously made sails from second-hand sheets, but they are far too stretchy; a painter’s drop canvas has nylon and polyester blended into the cotton which makes it less stretchy than cotton alone.
A steep learning curve when making DIY sails
I started off using an old wooden pole as a mast, probably a boat hook at some point, with a block tied to the top. I cut out a triangle and hoisted it on the Laser. Being a totally flat triangle with a loose luff and a loose foot, I got nowhere fast. In fact it was difficult to even reach across the marina and back.
Frank, who was laughing at me, informed me that sails had shape and were not just flat triangles. I did more research and found it was much more complicated than I thought. I tried balling up the clew of the sail to add shape to my triangle, and occasionally it would sail for a second, but it was definitely not acceptable. I realised I needed to cut the shape into the material.
My first successful sail had a uniform curve on the luff that I eyeballed onto the canvas. I marked out a perfect triangle, then added a curve to the luff side. I sewed the luff onto an extendable aluminium pole. I hoisted the pole up alongside my old wooden mast. The pole attached to the luff was necessary to keep the luff curve pushed into the sail.
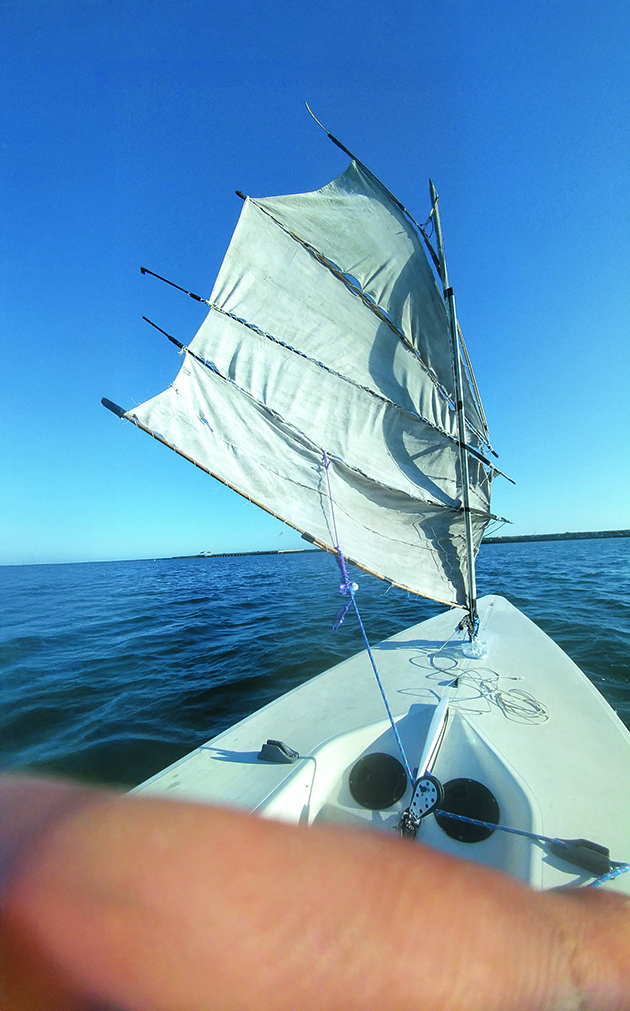
The prototype junk sail for his Laser, to starboard and (right) port. Credit: Colin Clayton
Hoisting the sail without the pole let the curve I cut onto the luff flap uselessly in the wind. I used a similar pole for the foot of the sail as a boom. I was not sailing very well or very fast, but I was making it out of the marina and around the bay. That was a start! I made a few triangular sails and experimented with different shapes added to the luff and foot until the DIY sails started working better.
As I became more comfortable I wanted a bigger sail. The problem was that I was limited by the height of my mast. Frank suggested making a Sunfish-style sail that uses a yard to extend the sail above the mast, similar to a lateen rig. Honestly, being still relatively new to sailing, the idea of making such a sail was a bit daunting, but the Sunfish sail gave me the idea to try a junk sail.
The problem was that I had to cut separate panels for the junk sail and I could not cut one simple luff curve as I did with my triangular DIY sails. I knew from my triangular sails that the shape needed to be near the luff, but I could not cut the shape into the luff itself because of the separated panels. I was unsure where in the panel to add shape, but I read that propeller twist angles usually begin around a third of the total length and I used that.
I also wanted the panels to have matching curves to them, but because I was eyeballing everything, I was unsure about how to make the same curve repeatedly for each panel. So I did not use curves; I used straight lines. I marked out a perfect rectangle, then measured out where I wanted the apex of the shape in the panel.
From there I measured down, or up, a few inches away from the rectangle, and marked a dot which represented the apex of the shape. Then I connected the luff and leech edges of the panel to that dot using a yardstick. When cut out along the straight lines, I remember thinking the panel looked like a kite.
Using cotton twine, I hand-sewed the panels in pairs onto the battens by holding the edges. It was similar to how I had attached the luff of my triangular sail to a pole, except sideways. I found that when using more traditional sewing thread, such as bonded nylon or thin but strong thread, it ripped right through the canvas like a saw. I ended up using parts out of the trash can, like broken fishing poles, rusty tent poles and wood dowels for the battens, boom and yard.
My first junk DIY sails did, in fact, look like pieces of junk. They worked very well, despite their appearance, and I was extremely impressed. I originally designed my first junk sail to have three cambered lower panels and flat fan top panels.
However, the dowel broke in between the first and second panel, so I sewed the two lower panels together. I used the daintiest stitches and did not even reinforce or hem the edges. I fully expected the panels to rip apart eventually, but they held and never tore. I concluded that there must not be much force at work in those panels.
A new mast for my DIY sails
One day, my old wooden mast pole snapped at the base. I was able to step the remainder of the mast and sail back without a problem. After that, I used a glassfibre spinnaker pole that was longer, but had a hook at the base so I could attach it to the dinghy. The spinnaker pole was still not long enough to use the original Laser sail, so I continued making junk sails.
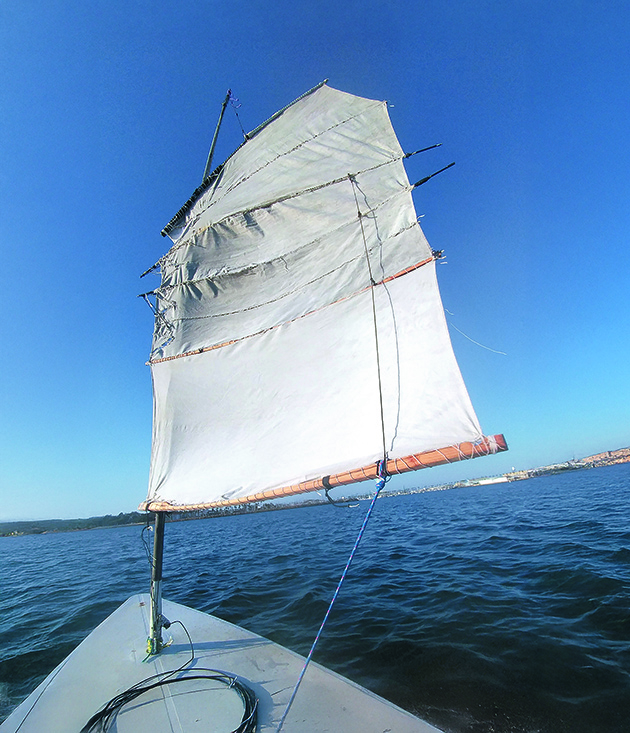
A glassfibre spinnaker pole as a mast allowed Colin to make larger sails. Credit: Colin Clayton
With the spinnaker pole, I had room for more panels so I added another panel to my sail. At one point the hook on the spinnaker pole poked through the bottom of the Laser while sailing and filled the hull with water, but the cockpit remained dry. I wondered why I was going slower and slower, then realised the boat was sitting really low in the water.
From then on the Laser had a chunk of epoxy under the hull to seal the hole, and I placed a circle of wood in the mast tube to disperse the load. To reinforce the leech of the sail to prevent the battens from breaking, I added a line of Paracord going up to the fanned panels and back down the other side. It cradled the battens and seemed to add strength but I eventually abandoned that practice as I was not sure how it was affecting performance. That technique may prove to be useful in larger sails.
As time went on I wanted to make DIY sails that looked a little less like a flying bin. The battens I used were an amalgam of whatever I had at the time and a whole lot of tape. The wood dowels I used for battens would often snap in strong gusts, usually only going downwind. I taped them back together with splints, but the hollow glassfibre tent poles I used remained unbroken. As the poles could bend almost in a circle without breaking, I used them for every batten, except the boom, and made a new sail.
The three lower panels had shape, and I made the lowest batten the largest with the most camber or shape. My idea was to have more shape and material in the lower panels, so they’d work better upwind. I was constantly repurposing old material, taking apart my old DIY sails for parts to make new ones, and taking whatever worked for the new ones, and leaving behind what did not.
This included techniques for sail construction, materials, and rigging. The construction markers were made of solid glassfibre which allowed me to cut small notches at each end. That created good lashing points to keep the panels stretched along the batten. I used the same notching technique to keep the batten parrels in one spot along the batten.
Where the parrels attached to the battens played a large part in how the sail acted. The same was true of where the boom was attached and the sheeting points. Because I sheeted the sail at the boom alone, and the sheeting point was forward of where I attached the sheet to the boom, there was a lot of pulling force toward the bow of the Laser.
The same force was in action on the yard which caused a lot of friction at the parrels. If I tied the boom to the mast further forward than the parrel attachment points, then even without any sheet applied, the battens would have a constant bend.
Going larger
Most of the DIY sails I made had 6ft booms and battens, but I made one with a 9ft boom which I used the most to experiment with prebent battens. I was able to adjust the prebend of the battens by moving the boom forward and aft. The wind constantly forced the sail shape, but sometimes the sail shape would be noticeably worse when tacking, and I’d be faced with the inverse sail shape. The boat would still sail upwind that way without much difference. This caused some surprising attributes.
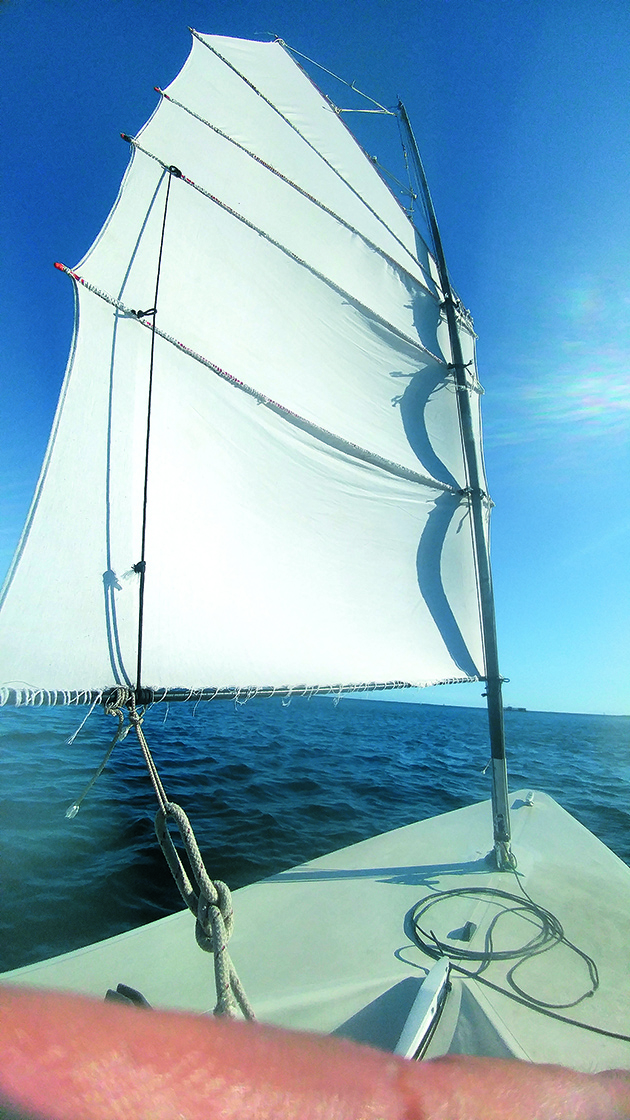
Colin’s third homemade junk sail, with a larger lower panel to sail better upwind. Credit: Colin Clayton
I often picked up rubbish as I sailed around the bay, and one day while I was headed downwind, I let the sail out until it was over the bow to slow down so I could stop to grab some rubbish. Because the sail kept its shape, instead of stopping I actually began sailing backwards. I was quite shocked! The stern of the boat was facing the wind and I was moving upwind in reverse; it was a very strange feeling. I tried this technique with my other sails and they acted similarly.
Another trait pre-bending the battens had was the inability to stop. I’d often chat with windsurfers or others on the water and would often stall the boat on a reach to engage in a conversation. With forced sail shape at all times, I was moving; there was no stalling at pretty much any point of sail. While tied at the docks, with the sail up, the boat would flounder up into the wind until it brought its lines taught without any sheet or controls touched. I remember tacking back and forth, slowly cruising like a shark to have a conversation with someone sitting on their windsurfing board and apologising that I could not stop the boat.
Of course, I could have dropped the sail, but since there was so much friction, raising the sail was not a smooth action and I often had to fiddle with the battens, parrels etc which I was more comfortable doing at the dock. I stopped using this technique because there was so much friction involved. The constant rubbing (chafe) against the mast almost sawed through the solid glassfibre rods.
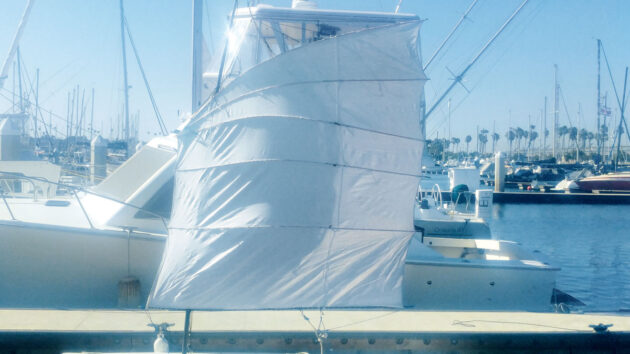
The 4th incarnation of Colin’s junk sail with a 9ft boom, pictured here tensioned. Credit: Colin Clayton
The Paracord (parachute cord) I used as parrels did not fare much better. I made waxed canvas covers for the battens and parrels which lessened the amount of friction and protected the battens, but ultimately I decided the rig felt too forced and technical. With one of the sails I added eyes made of Paracord along the edges of the panels. I threaded the batten through the eyes of each neighbouring panel thinking I would be able to easily remove them and swap them to experiment. All I had to do was thread the battens through the eyes, then lash the luff and leech of the panels to the batten and the sail was done. The sail had lots of little holes since it was not sewn onto the battens, but that did not seem to affect its performance negatively.
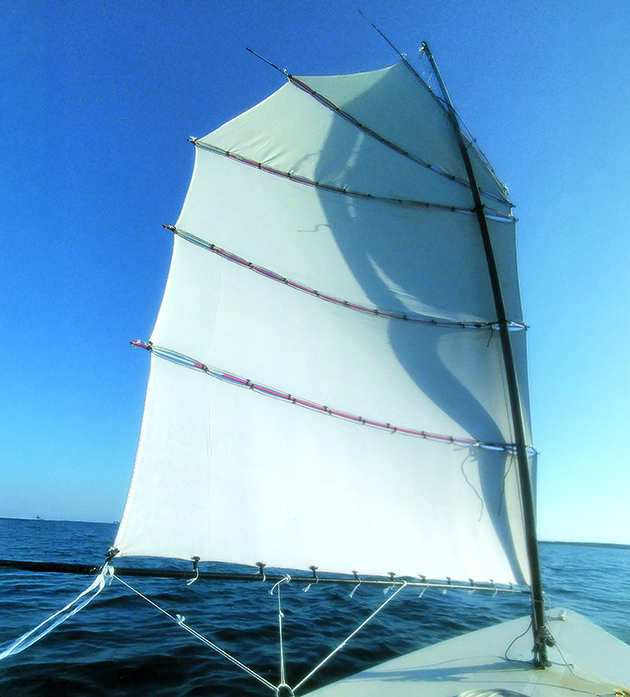
Colin modified his junk sail so he could swap panels and experiment with sail shape. Credit: Colin Clayton
The biggest difference I made was designing the sail to have camber in only one panel. I had read that even flat cut sails can have windward capability, so I wanted to see what would happen with an almost flat sail, just very little camber. This sail developed into a very curvy sail shape inside the outline of the sail. I used the same glassfibre poles as with the other sails, which did not result in a curvy shape throughout the whole sail. Each panel had its own small shape and did not bend together. Only when less camber was used did a continuous curve form. This was the single most important change to my sails that I kept for all subsequent builds.
Square DIY sails
One day I decided to make a rectangular junk sail with a flat top rather than the fanned upper panels. In my mind, it was going to be a silly sail, good for a few laughs. I’d seen the pictures of ancient Chinese ships all flying square sails and figured they eventually evolved into a fanned style. On my first sail, I was absolutely shocked at how well it sailed. I still remember hearing a voice somewhere off in the docks saying, “I don’t believe it”, as I manoeuvred tight tacks through the fingers of the marina, closer to the wind than when using any other sail I had made.
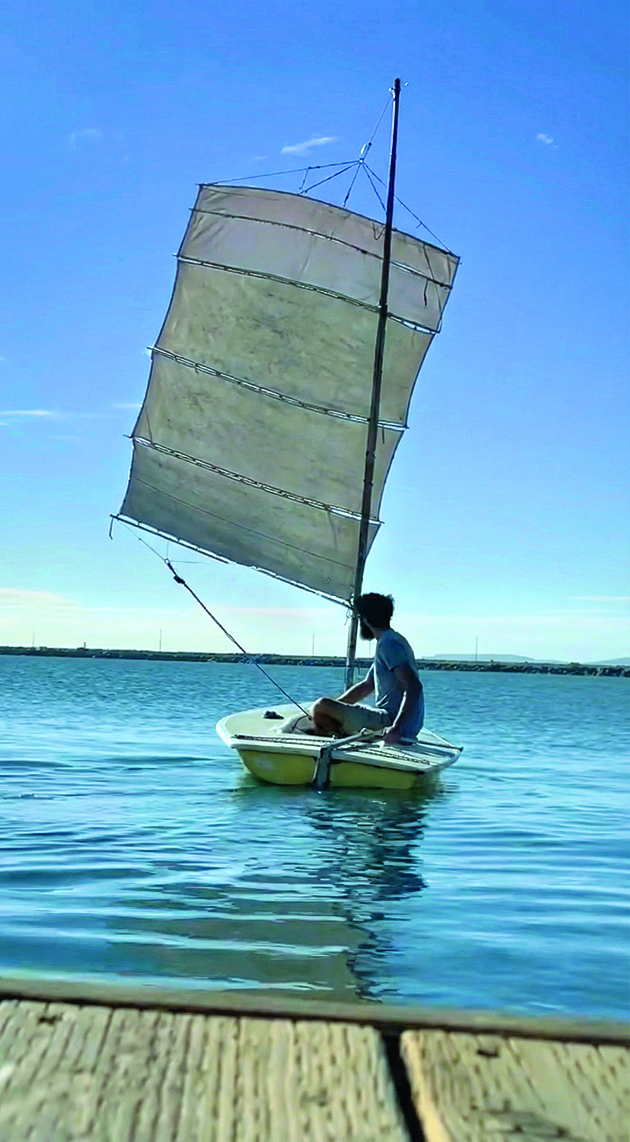
A square sail proved to give better performance. Credit: Colin Clayton
As much as I’d come to love the look of a fanned junk sail, my goal in sailmaking is to make the most effective sail and to discover what makes sails work. So I took apart the fanned sail and replaced the angled top panels with horizontal ones. It did work better than before, and the difference was most noticeable in light winds.
Trickier rigging
Rigging the square sails was much harder than rigging the fanned sails. Balancing the sail correctly seemed much more important for performance and since I was using such bendable material as a yard, keeping the yard straight was also difficult. If the yard was not kept straight and the leech and luff were allowed to droop, the performance was reduced against the wind, but reaching and downwind was just as fast, or faster; I found straight in all directions was the most effective.
I got around this by using a thicker glassfibre rod as a yard, but the weight difference was very noticeable when heeling. It was much easier to flatten the boat and sail faster with less weight aloft. I only capsized the Laser once, showing off my arguably best-looking and best-performing sail, which used a wooden rod that was about as stiff as the thicker glassfibre rod but lighter.
I was able to right the boat, but immediately realised that because so much water had been absorbed by the canvas sail, it would be a challenge to keep the boat upright. That was the only time I ever had help returning to the dock, and it was only necessary since I was drifting into a dangerous situation under a pier. Had I more time, I’d have been able to set the sail reefed and make it back. For that purpose, I always carried a spare line to tie the battens together.
After that, I made another sail out of waterproof ripstop nylon using the same design. The ripstop nylon worked just as well as the canvas. Eventually, I was given an original Laser mast by the Commodore of a local yacht club which I used to set up the sail with the boom and original rigging. I was expecting a totally different sailing experience, but that did not happen. Not only was it annoying to step the mast with the sail attached, but reaching and going downwind felt painfully slow.
That was the first time I had ever sailed the Laser using the original rig. Unfortunately, my Laser was lost being towed in a storm which put a halt to my plans to make the cockpit bigger, but perhaps it was for the best. I’m a firm believer that everything happens for a reason.
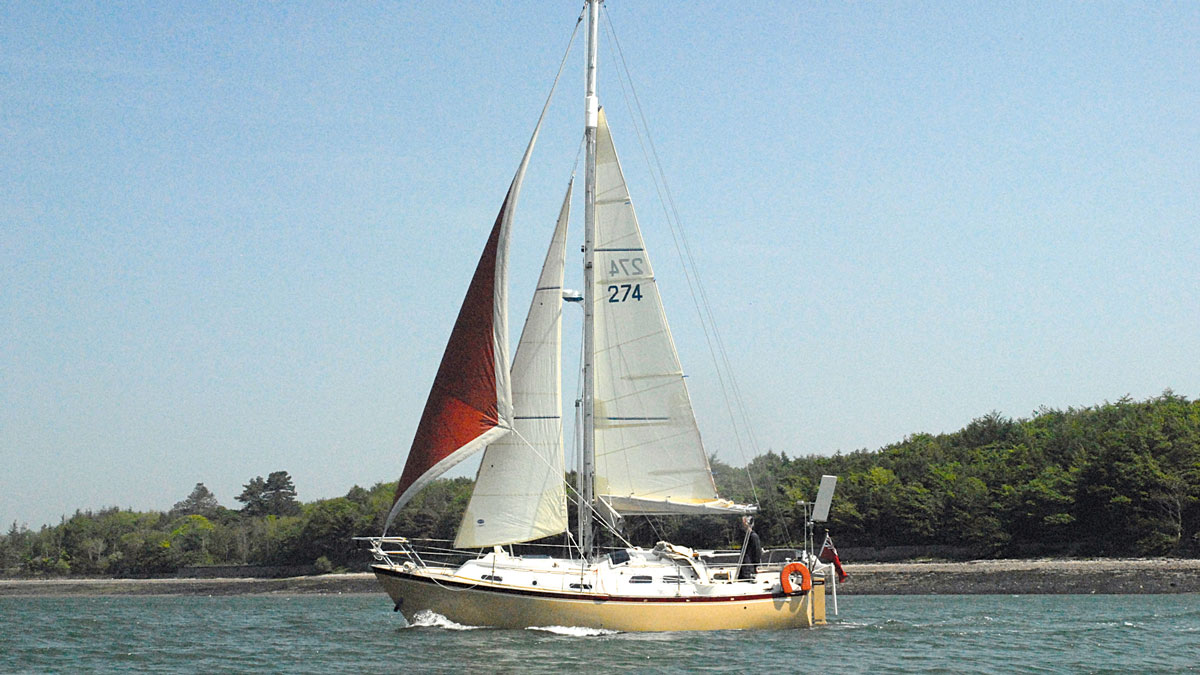
Sailing a cutter rig: How two headsails improve handling and balance for cruising
Are two headsails better than one or just twice the bother? David Rainsbury explains why he finds a cutter rig…

The expert advice on picking the right sails and keeping them healthy
The new season’s approaching, and your sails are in tip-top condition, right? You’ve had them laundered and the UV strips…
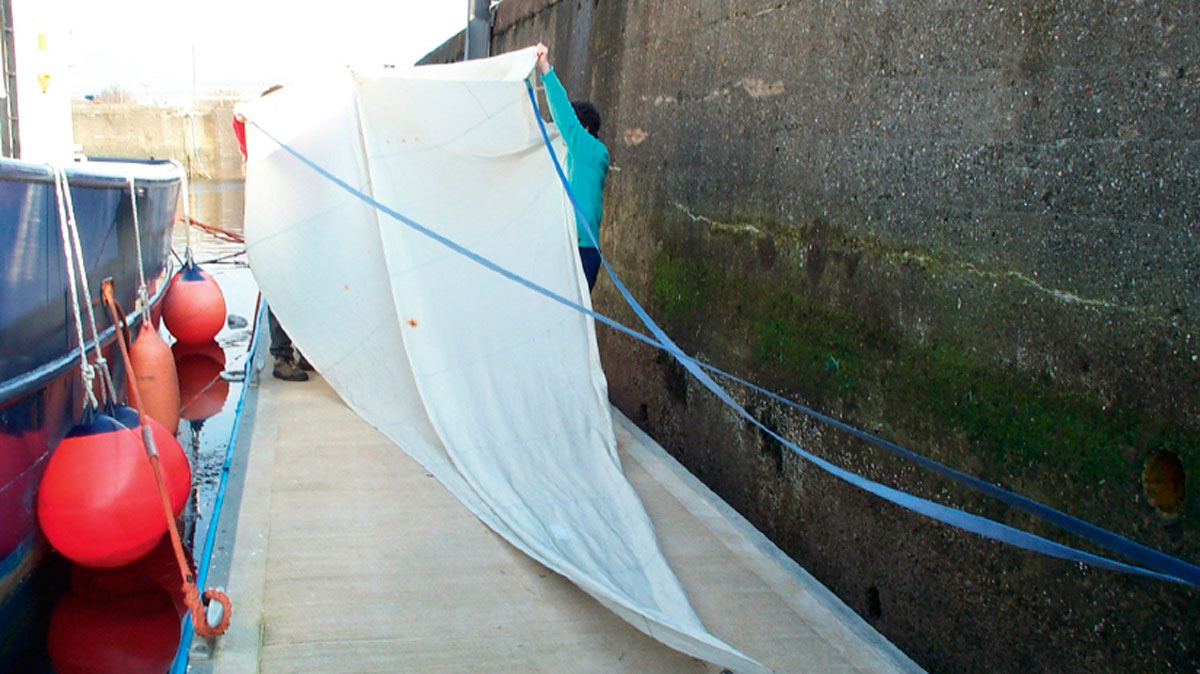
Turning old headsails into an MOB recovery scoop and sea anchors
Paul McNeill shows how redundant old headsails can be successfully recycled as items of MOB recovery equipment or as sea…
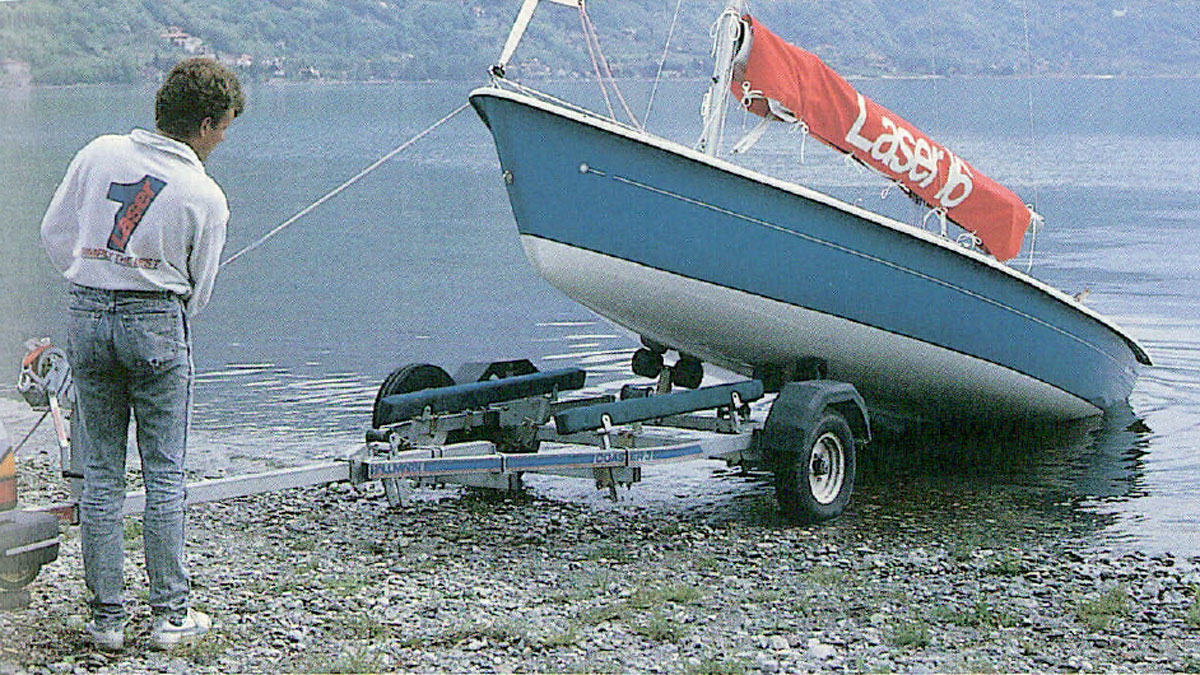
Why the Laser 16 is a “proper trailer sailer”
At last, a proper trailer sailer, says Wendy Fitzpatrick of the Laser 16 cruising dinghy, in a review for the…
Want to read more articles like How I made DIY sails for a Laser?

A subscription to Practical Boat Owner magazine costs around 40% less than the cover price.
Print and digital editions are available through Magazines Direct – where you can also find the latest deals.
PBO is packed with information to help you get the most from boat ownership – whether sail or power.
-
-
-
- Take your DIY skills to the next level with trusted advice on boat maintenance and repairs
- Impartial, in-depth gear reviews
- Practical cruising tips for making the most of your time afloat
-
-
Follow us on Facebook, Instagram, TikTok and X